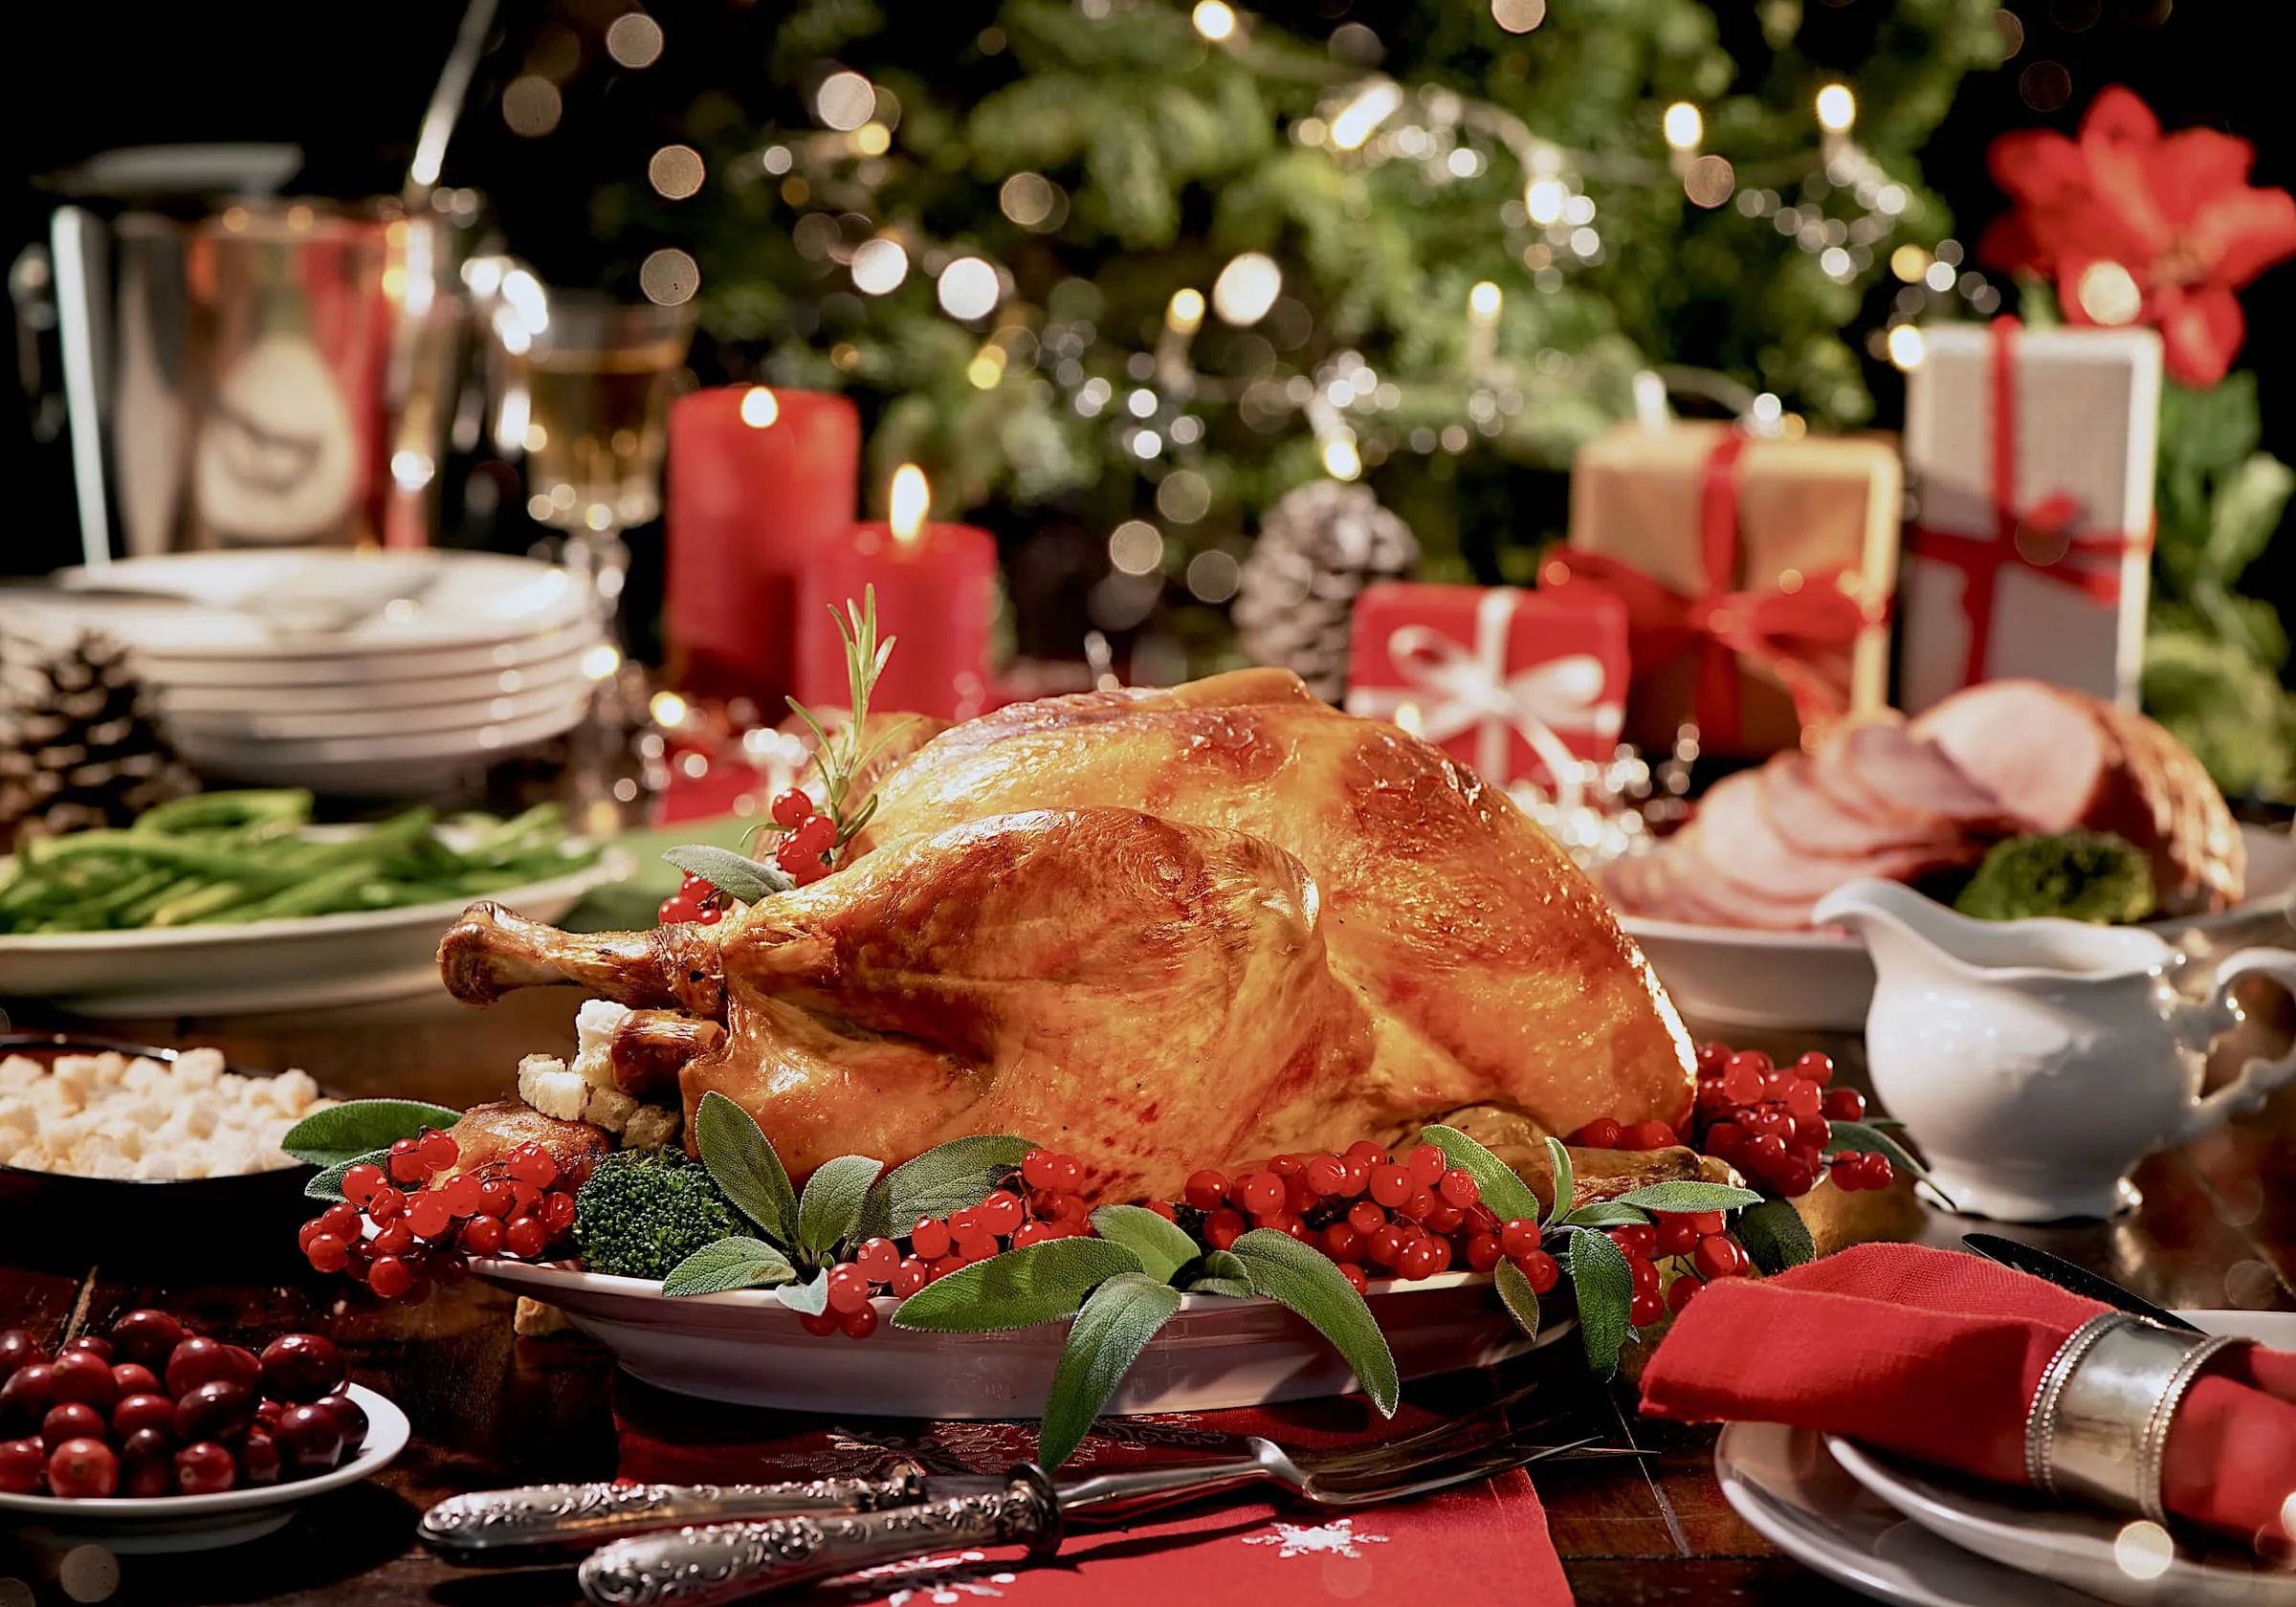
From preparing the bird and getting your roasting times right to the simple carving trick that makes all the difference, here's how to cook a Christmas turkey that's properly done, beautifully juicy and ready when the family sits down.
Christmas Day has a funny way of making even the most confident home cook question everything they’ve ever learnt in a kitchen.
The potatoes are demanding attention, the sprouts have divided the room before they’ve even reached the table, and somewhere in the oven sits an enormous bird with an entire family’s expectations resting on its shoulders.
No pressure, then.
The good news is that cooking a decent Christmas turkey doesn’t require a professional kitchen, a collection of expensive gadgets or getting up at three in the morning. It requires a little preparation, sensible timing and knowing when to leave the thing alone.
From making sure it’s safely defrosted to carving it without turning the breast into a pile of scraps, here’s how to give your Christmas centrepiece the attention it deserves.
1. Get Your Turkey Ready Before Christmas Morning

The first rule of cooking a Christmas turkey is not to leave everything until Christmas Day.
If you’ve bought a frozen bird, it needs to be completely defrosted before roasting, unless the packaging specifically says it can be cooked from frozen.
According to the Food Standards Agency (FSA), a whole turkey can take between three and five days to defrost in the fridge. As a general guide, allow around 10–12 hours per kilogram, although the instructions on the packaging should take priority.
Place the bird in a covered container on the bottom shelf of the fridge, where any escaping juices cannot drip onto other food.
And whatever advice you’ve heard about leaving the turkey on the kitchen worktop overnight, don’t. Raw poultry needs to be kept properly chilled.
Should You Wash Your Christmas Turkey?
No.
Washing raw turkey doesn’t make it safer. It can splash harmful bacteria onto worktops, utensils and anything else unfortunate enough to be nearby.
The FSA recommends avoiding it altogether.
Instead, once you’re ready to prepare the bird, carefully pat the skin dry with kitchen paper, dispose of the paper immediately and wash your hands thoroughly.
Dry skin can help with browning during roasting. Just don’t confuse drying the bird with leaving it sitting at room temperature for hours.
2. Season Simply and Prepare the Roasting Tin
A good Christmas turkey doesn’t necessarily need an elaborate marinade or overnight brine.
Season the skin with sea salt and freshly ground black pepper. If you prefer, you can add a little butter or oil to the outside, although the exact preparation will depend on the bird and the recipe you’re following.
Place the turkey breast-side up on a roasting rack inside a suitable tin. This keeps the bird raised above the cooking juices rather than sitting directly in them.
Check that there’s enough room around the turkey for hot air to circulate and that the roasting tin fits comfortably in the oven.
It sounds obvious until somebody discovers that their magnificent Christmas centrepiece requires a considerably larger kitchen.
Should You Put Stuffing Inside the Turkey?
Traditional recipes often suggest filling the cavity with stuffing, but the Food Standards Agency recommends cooking stuffing separately.
The reason is straightforward: stuffing inside a turkey can slow down the cooking process and may not reach a safe temperature by the time the surrounding meat is ready.
Cooking it in its own dish is easier to manage and gives you a better chance of getting both the turkey and stuffing properly cooked.
Sage and onion remain the classic, although fruit, citrus zest and herbs can bring something different to the Christmas table.
If you’ve bought a prepared stuffed turkey joint, follow its specific cooking instructions and check that the centre is thoroughly cooked.
3. How Long Should You Cook a Christmas Turkey?
This is where Christmas cooking can become unnecessarily complicated.
Different recipes recommend different temperatures and roasting times, while the size and type of turkey can make a considerable difference.
The safest starting point is to follow the instructions supplied with your bird.
If no instructions are available, the FSA provides these general roasting times for an unstuffed turkey cooked in an oven preheated to 180°C conventional, 160°C fan or Gas Mark 4.
| Turkey weight | Cooking-time guide |
|---|---|
| Under 4.5kg | 45 minutes per kg, plus 20 minutes |
| Between 4.5kg and 6.5kg | 40 minutes per kg |
| Over 6.5kg | 35 minutes per kg |
For example, a 5kg turkey would need approximately three hours and 20 minutes using this guide.
But there’s an important distinction between estimating how long a turkey should take and knowing when it’s actually cooked.
The clock is a guide. The internal temperature is the proper check.
Ovens vary, larger birds can cook unevenly, and repeatedly opening the door to inspect your handiwork can affect cooking time.
Should You Cover the Turkey With Foil?
Loosely covering the bird with foil during roasting can help prevent the skin from browning too quickly.
For a golden finish, remove the foil towards the end of cooking, provided there’s still enough cooking time remaining.
If the breast or legs are colouring faster than you’d like, protect those areas with foil while the rest of the bird continues cooking.
There’s no need to spend the entire afternoon opening the oven to admire it. Every interruption makes keeping track of the cooking process that little bit harder.
4. How to Tell When Your Turkey Is Properly Cooked
A beautifully browned turkey isn’t necessarily a fully cooked turkey.
Neither is one that has spent the recommended number of hours in the oven.
The most reliable approach is to use a clean food thermometer, checking the thickest part of the meat between the thigh and breast without touching the bone.
The Food Standards Agency recommends that the centre reaches one of several safe time-and-temperature combinations, including:
- 75°C for at least 30 seconds.
- 70°C for at least two minutes.
For most home cooks, checking that the thickest parts have reached 75°C for 30 seconds is a straightforward approach.
The meat should also be steaming hot throughout, with no pink flesh in the thickest part and juices that run clear.
Some traditional cooks suggest gently twisting the drumstick to see whether the joint moves easily. It can offer a clue about tenderness, but it cannot confirm that the meat is safe to eat.
A thermometer removes the guesswork. And on Christmas Day, that’s one less thing to worry about.
5. Why Resting Your Christmas Turkey Is So Important
After several hours in the oven, there’s an understandable temptation to get straight on with carving.
Resist it.
Allowing the cooked turkey to rest for around 30–40 minutes gives the meat time to settle before slicing.
During cooking, the muscle fibres contract and moisture moves through the meat. Resting helps reduce the amount of juice lost when you start cutting, which can make for a more succulent result.
Transfer the turkey to a clean carving board or serving dish, loosely cover it with foil and give it a proper rest.
You don’t need to wrap it so tightly that it continues steaming inside a foil parcel.
And there’s a second benefit that might be even more welcome in a busy Christmas kitchen.
Resting the turkey frees up the oven.
Those final 30–40 minutes offer an opportunity to finish the roast potatoes, heat the stuffing and bring everything else together.
Just remember that resting doesn’t compensate for undercooking. Check the bird is thoroughly cooked before removing it from the oven, and don’t leave cooked poultry at room temperature for an extended period.
Any juices collected during resting can be added to your gravy and brought to a thorough simmer.
6. How to Carve a Turkey Without Making a Complete Mess
Carving is the final hurdle.
After hours spent getting the bird just right, attacking the breast with a blunt carving knife is a rather unfortunate way to finish the job.
Ian Souster, Head Butcher at Edenmoor, formerly Pipers Farm, has more than 33 years of experience in the trade and recommends a simple approach that differs from the traditional Christmas-table performance.
Rather than slicing the breast while it’s still attached to the carcass, remove it whole and carve it on a board.
Here’s how:
Start with the legs. Gently pull each leg away from the body, cut through the skin and bend the leg out until you can see the joint. Cut through the joint rather than trying to force the knife through bone.
Separate the thigh and drumstick. Locate the joint between them and divide the two pieces. Don’t overlook the thigh meat, which deserves a place on the serving platter alongside the breast.
Remove the breast whole. Run a sharp knife down one side of the breastbone, keeping the blade close to the ribcage. Carefully lift the entire breast away.
Slice across the grain. Place the breast on a carving board and cut it into even slices. Repeat on the other side.
Souster explains:
“Most people carve the breast on the bird and end up with ragged slices. We take the whole breast off first and slice it on the board, and that’s the trick I’d pass on.”
It’s a small change in technique, but one that makes serving considerably easier.
And there’s no need to carve every last piece of meat immediately. Remove what you’re serving, then deal with the remaining turkey promptly and store it safely for the next day.
7. Don’t Forget the Boxing Day Turkey
A good Christmas turkey should comfortably earn its keep beyond Christmas lunch, provided the leftovers are handled properly.
The FSA recommends cooling leftovers quickly and placing them in the fridge or freezer within one to two hours.
Remove the remaining meat from the carcass and divide it into smaller portions to help it cool more quickly.
Keep refrigerated leftovers for no longer than 48 hours, or freeze them for another day.
When reheating turkey, make sure it’s steaming hot throughout and avoid reheating the same leftovers more than once.
Turkey sandwiches, a Boxing Day pie or a curry can all make good use of what’s left.
And don’t be too quick to throw away the bones. Once the remaining meat has been safely stored, the carcass can be used to make a stock, provided it’s handled and cooked promptly.
The Secret to a Better Christmas Turkey? Give Yourself Time
For all the elaborate recipes and competing family traditions, a successful Christmas turkey comes down to getting a few fundamentals right.
Defrost it safely. Season it properly. Cook it according to reliable instructions, and check the internal temperature rather than trusting the clock alone.
Then give it enough time to rest before carving.
Perhaps most importantly, work backwards from the time you want everyone sitting around the table. Allow for roasting, resting and any unexpected delays, rather than discovering at two o’clock that the turkey still has an hour to go.
Christmas lunch will probably never run with military precision, and frankly, it wouldn’t feel quite right if it did.
But with a little planning, at least the turkey can be one thing you don’t have to worry about.