There’s something deeply satisfying about turning an underutilised space into something that enhances your life—like say for example creating your dream garage home gym.
Transforming your garage into a gym isn’t merely a clever DIY project; it’s an investment in your well-being that brings convenience, cost-efficiency, and a bit of charm to your daily routine.
But before you get carried away and dive into your workout routine with those dumbbells, let’s hit pause and give your oil-stained garage a little TLC.
I’m here to guide you in turning that overlooked space into a smart, organised, and downright inspiring workout haven that truly feels like home.
Step 1: Clear the Clutter
Let’s face it—most garages aren’t exactly inviting spaces. Before you can enjoy your new workout zone, give your garage a little love.
Clear out that clutter that’s been sitting on those shelves and floors since you moved in, donate or toss anything you don’t really need, and neatly store the rest. This simple fresh start will set the stage for transforming your space into something you truly enjoy.
Pro tip: To maximise space, use shelving and racking to store tools, garden equipment, or other items along the walls.
Vertical storage frees up floor space for your gym equipment without compromising overall functionality.
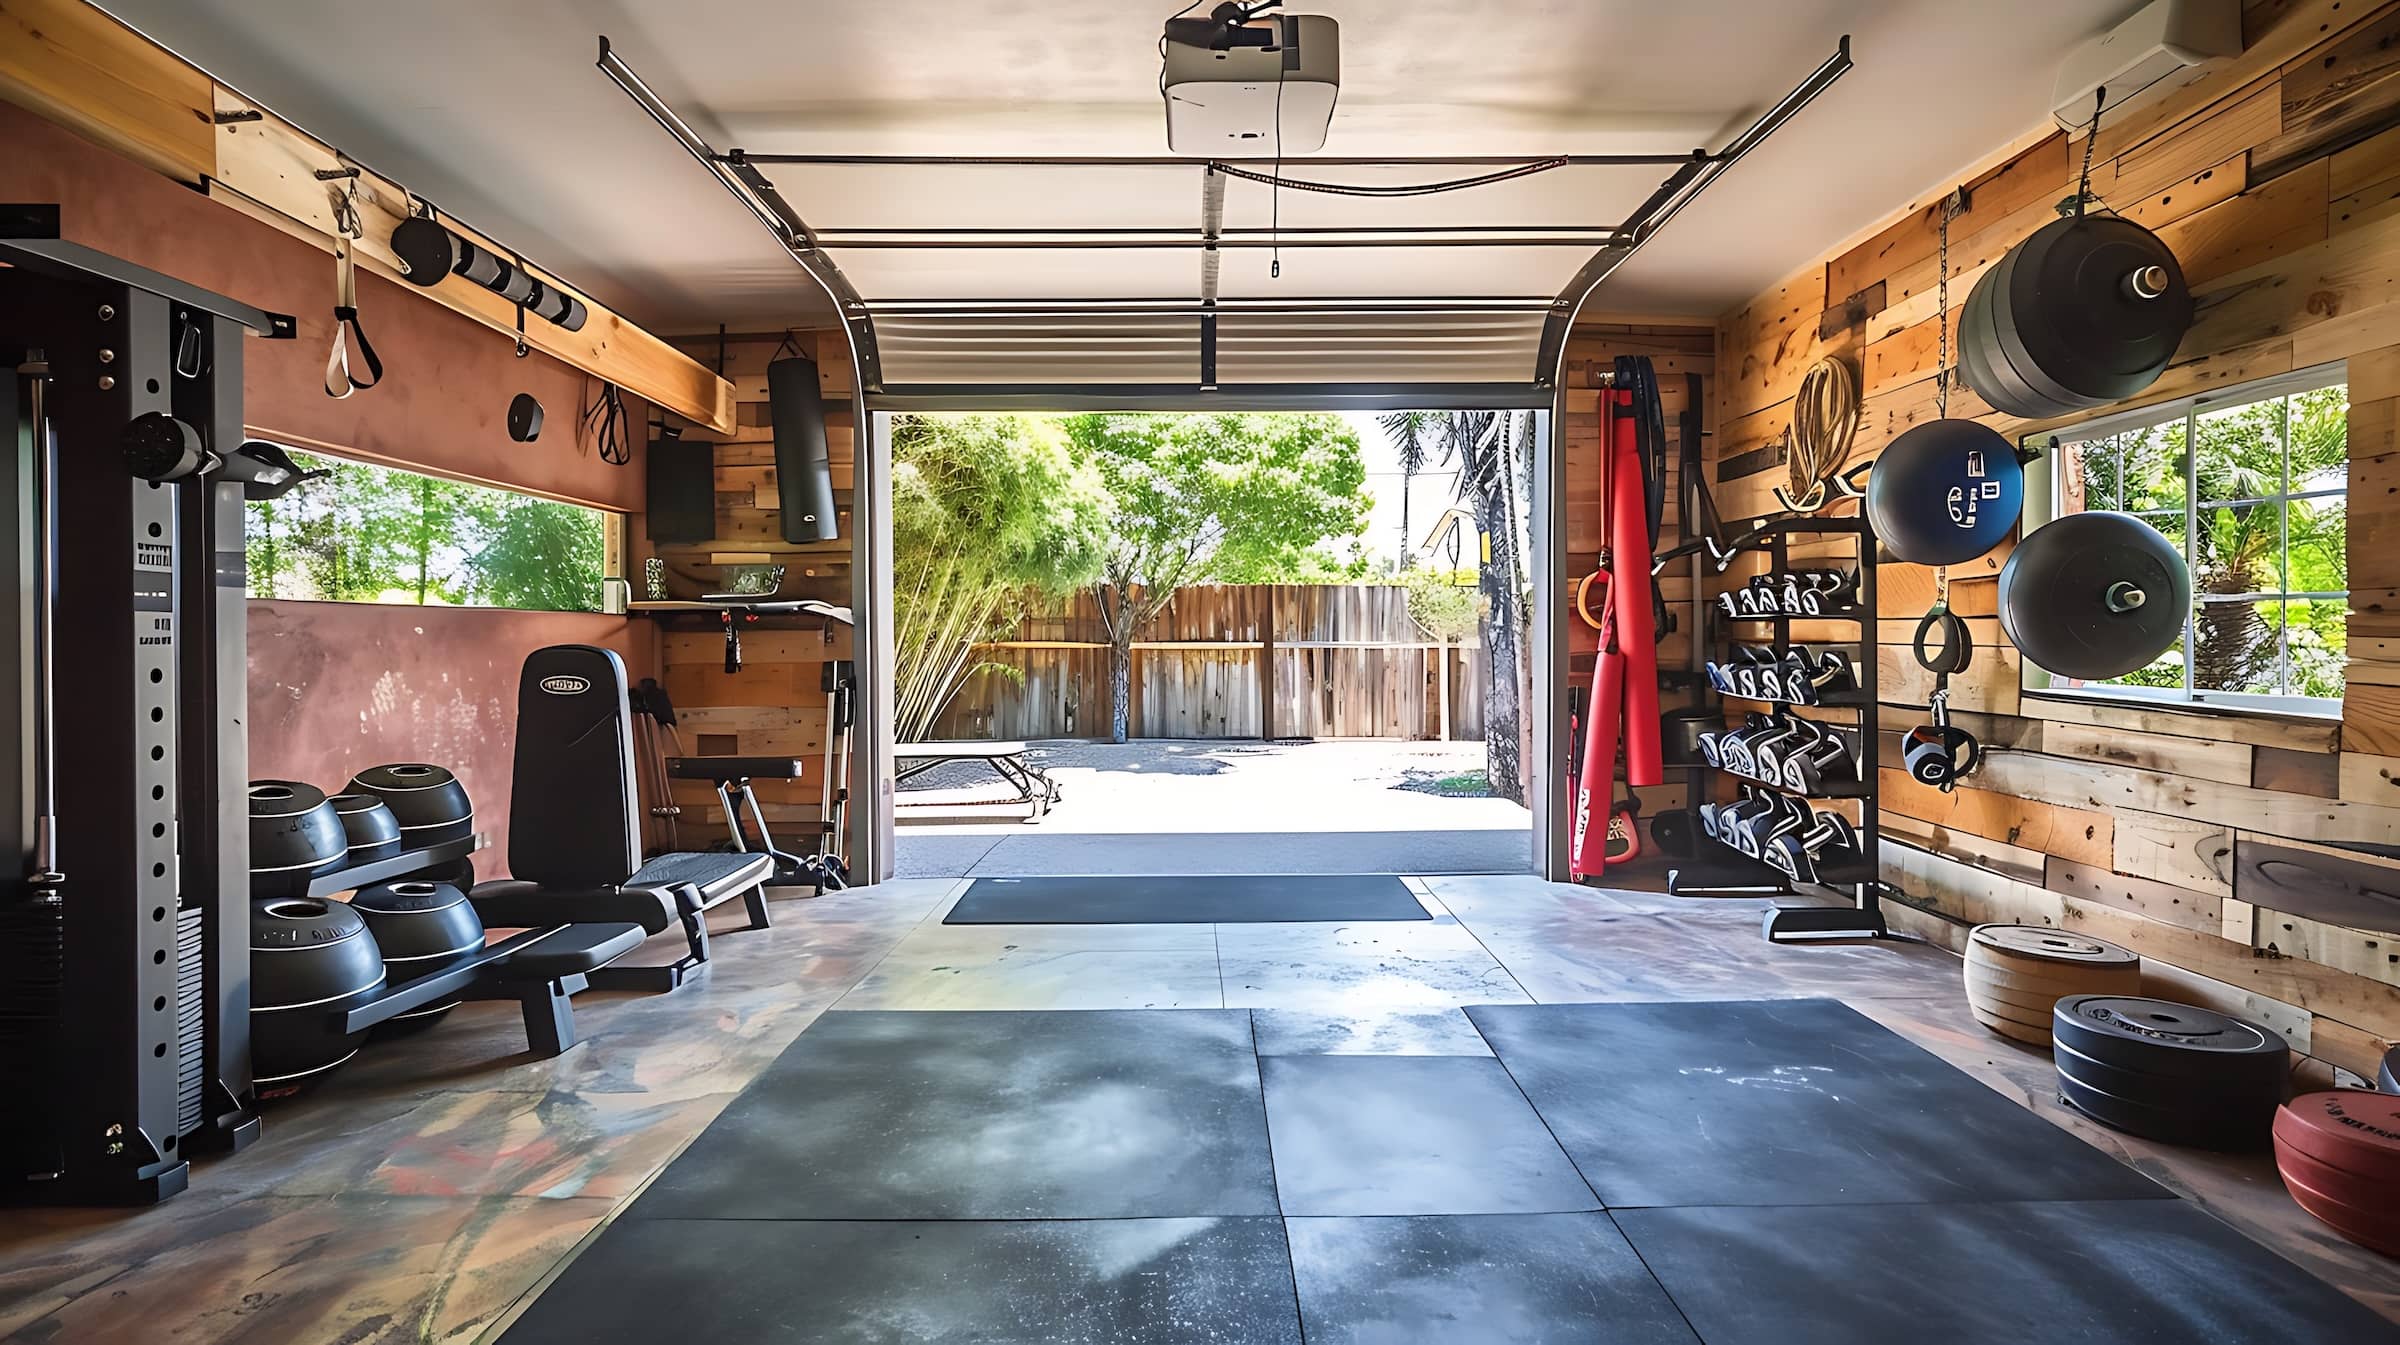
Step 2: Plan Your Layout Like a Pro
With the clutter gone, it’s time to make the space your own. Will your garage gym be a no-nonsense strength zone, a high-energy cardio hub, or a flexible setup that moves with you? Whatever your vibe, it should feel like a place you actually want to train in.
Create designated zones:
Imagine your garage home gym divided into its own distinct zones. Create a cardio corner by positioning your treadmills, stationary bikes, or rowing machines near an outlet for that easy plug-and-play setup.
Next, carve out a dedicated strength zone where your dumbbells, kettlebells, and resistance gear have a proper home—no more tripping over loose weights.
And don’t forget a floorwork area. Roll out your yoga mat for stretching, bodyweight moves, or those all-important recovery sessions. A setup like this doesn’t just keep your space tidy—it makes your workouts flow effortlessly.
Step 3: Upgrade Your Flooring
Garage floors are built for cars, not burpees—and anyone who’s ever done a workout on cold, unforgiving concrete knows it’s far from ideal. That’s why proper gym flooring isn’t just a nice-to-have, it’s a must.
Here’s what works:
- Rubber mats – Tough, grippy, and perfect for weightlifting.
- Foam tiles – Softer underfoot, great for yoga or bodyweight moves.
- A solid floor isn’t just about comfort—it protects your joints, your gear, and your motivation to keep moving.
Step 4: Install Mirrors for Form and Function
Mirrors aren’t just for checking out your progress (though that’s a nice perk). They’re essential for keeping your form on point, helping you avoid injury and move more efficiently. Plus, they reflect light and open up the space, making your gym feel bigger, brighter, and a whole lot more inviting.
Step 5: Set the Mood with Lighting and Music
Most garages start come as standard with that single dreary dim lightbulb installed—definitely not the atmosphere for a high-energy workout.
Upgrade to bright LED lighting, and your space instantly comes to life, setting the perfect stage for your sweat sessions.
And while we’re at it, let’s talk about the soundtrack. A quality Bluetooth speaker or smart sound system can really elevate your routine, whether you’re powering through deadlifts to heart-thumping rock anthems or cooling down with some mellow beats after a tough set.
Step 6: Choose Smart, Versatile Equipment
You don’t need to cram your garage with every piece of gym equipment imaginable—just the essentials. The key is picking a versatile kit that gives you the most bang for your buck (and your space).
Garage gym staples:
- Cardio: Treadmill, rowing machine, Eliptical machine or stationary bike—whatever gets your heart rate up.
- Strength: Adjustable dumbbells, kettlebells, and a solid weight bench to cover all bases.
- Flexibility & Recovery: A yoga mat, foam roller, and resistance bands to keep you moving well.
Start with the basics and add to your setup as your training (and ambitions) grow.
Step 7: Personalise Your Gym Space
Your home gym should feel like your own personal sanctuary—not just a corner of the garage with some weights.
Splash on an energizing paint colour, throw up a few motivational posters or add LED strips for a bit of atmosphere.
Whether you keep it sleek and minimalist or turn it into a full-on fitness cave, making the space your own will make every workout that much more enjoyable.
Why a Garage Home Gym is a Game-Changer
- Building a home gym in your garage isn’t just about convenience—it’s a lifestyle upgrade. Here’s why:
- No more commuting: Your gym is open 24/7, and no membership is required.
- Saves money long-term: Say goodbye to monthly gym fees.
- Fully customized: Create a setup that fits your fitness style and goals.
- Total privacy: No waiting for equipment or dealing with crowded spaces.
- Start Your Fitness Journey Today
Your garage gym isn’t just about convenience—it’s about commitment. It’s your fortress of sweat, your escape from crowded gyms and bad playlists.
So, get to work, make it yours, and enjoy the freedom of training on your own terms. Because once it’s set up, the toughest part won’t be the workouts—it’ll be coming up with a halfway decent excuse to skip them.