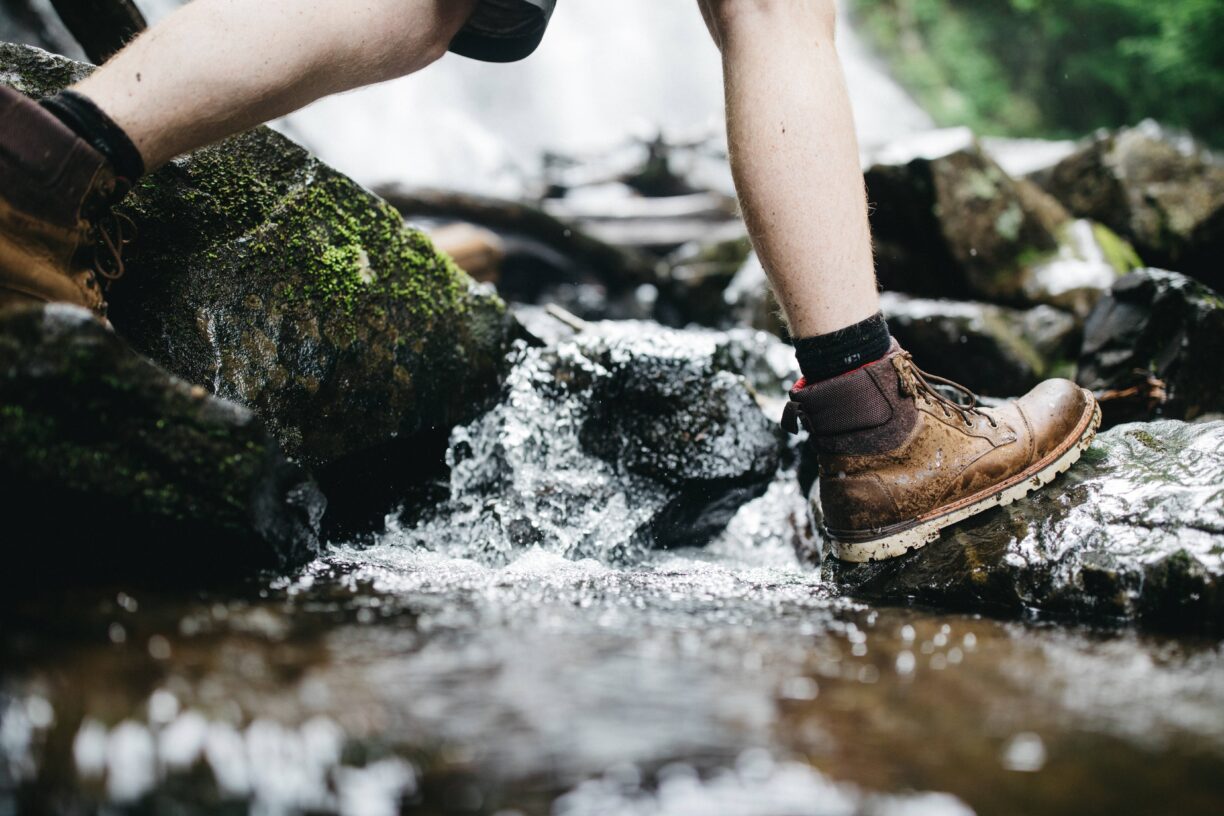
Nothing ruins a nice long hike like a nasty little blister, and ironically the former is almost always the cause of the latter.
There are, however, steps you can take (no pun intended) to minimise the possibility of blisters rearing their ugly heads, as well as treatment you can undertake to ensure an existing blister doesn’t ruin your walk entirely.
Blisters occur as a result of the pressure, heat and moisture that your feet can be subjected to while you’re hiking – by-products of friction, insufficiently breathable footwear and sweat, for example.
Follow this handy guide, however, and you’ll see there are plenty of ways to keep these factors to a minimum, thereby maximising your chances of a comfortable, pain-free hike!

Stop blisters before they start
Blister prevention starts at home – with looking after your feet. General foot care is one of the best habits you can get into with regards to keeping your feet in tip-top condition for the rigours you’ll be putting them through on long hikes and walks, so here is a checklist for a straightforward and regular self-care routine:
Trim your toenails. No doubt you’ve already got this under control, but it’s always sensible to make sure they’re short and smoothed of any sharp edges and points before heading out on a hike. This will reduce the chances of toenails rubbing on adjacent toes or the potential for developing in-growing toenails.
Frequent foot-cleaning. Another one that is most likely already part of your day-to-day regime but making sure you remove dirt from under your toenails will reduce the chance of infection. Moisturising your feet with lotion also helps keep skin soft, preventing the cracking and roughness that can lead to excess friction.
Remove thick, hard skin. Take care of your calluses using a pumice stone or foot rasp – otherwise, you run the risk of blisters forming beneath the hard skin, particularly around the heel area.
Soak your feet. Treat yourself to a warm foot bath to relax your muscles every so often. If you’re recovering from a long walk, try adding Epsom salt to speed the relief of your aches and pains.
Daily foot massage. Giving your feet a daily rub helps keep them supple, increases strength and promotes circulation. So, as well as feeling very relaxing, you’re also preventing future blisters and injury.
Remember to rest. Literally, make sure you put your feet up – especially in between long walks. Elevating your feet reduces any swelling that may have occurred on long walks, and which could cause your feet to rub more frequently in your shoes.
How to prevent blisters during a hike
Having the appropriate footwear and equipment – and using them correctly during your hike – is the most important thing you can do to prevent blisters from forming. Here’s what you need, and how to wear it.
Footwear that fits correctly. Shoes that fit correctly – whether they’re boots or trail runners – are the number one factor in preventing blisters from forming.
Footwear that is loose will rub, creating friction that irritates your skin. Shoes that are too tight will apply pressure that is also liable to create blisters.
Shoes should fit comfortably, ideally with a little room to spare in the toe area – for wiggling! If you have concerns that your shoes might cause friction, the Compeed Anti Blister Stick can be used to prevent chafing; simply apply it directly to your skin before you set off.
Break your shoes in. New footwear will always be a little stiff and not yet adapted to your individual way of walking. Always make sure you’ve broken in new shoes before you head out on a long hike; this is best done on short trips close to home, so you can curtail your walk if there is any discomfort building. Before long, your new shoes will be supple in just the way you need them to be!
Remove debris. Dirt and debris getting into your shoes or socks can cause chafing and pain that leads to blisters or cause you to adjust your gait in a way that may cause blisters. If something gets into your shoes, make sure you get it out again. If dirt gets into your socks, try and wash your feet in some running water if you can.
High-quality socks. Cotton is not a great choice of sock material for long hikes; instead, you should be considering synthetic materials or wool, which perform much better in wicking moisture and dry more quickly too. Make sure that your socks fit well and don’t bunch anywhere, as this could lead to friction.
Bringing a change of socks can be a good idea (in case the pair you’re wearing get wet), as can wearing a second, thinner pair of socks beneath your main pair if you are particularly prone to blistering.
Take a breather. Letting your feet air from time to time by removing your shoes and socks completely during a break in the hike is a great way to let your feet and socks dry and give yourself a break from any friction or pressure that is building up within the shoes. If your feet are swelling at all, you can also elevate them for a bit to counteract this.
How to treat blisters on feet
If you do start getting a blister while hiking, the treatment is fortunately extremely simple: apply a blister plaster to the affected area.
This will not only cushion the blistered area – making it comfortable to walk again – but the healing environment created by the blister plaster will make sure your blister is gone as soon as possible!
It’s important to understand the importance of protecting the skin overlaying a blister. Retaining an intact ‘roof’ is preferable as it prevents the underlying skin from being exposed to possible infection. An exposed ‘deroofed’ blister can also be more painful as more nerve endings are exposed.
With that in mind, it’s advised that you don’t pop or drain your blister. More often than not, when undertaken without sterilised tools, this can actually lead to infection.
Compeed Blister Plasters can be applied to blisters that are both roofed and deroofed. In the case of the latter, you should first clean the wound thoroughly with an antiseptic soap or wipe then allow the area to dry and replace any skin flap (if possible) before applying the blister plaster.


